Mobile window tinting offers UV protection, glare reduction, and enhanced privacy with professional-grade films from IR Auto Solutions, WNC’s Premiere Auto Protection Specialist. Car window tinting can reduce heat transfer by up to 60% and lower skin cancer risk while improving fuel efficiency and comfort. This guide covers diagnosing and fixing common tint issues—whether you tint my car yourself or use mobile car tinting services.
What are the most common auto window tinting issues?
The most common window tint issues are bubbles, peeling edges, discoloration, and adhesive residue forming after installation. Window tint asheville nc bubbles often appear when moisture or dust gets trapped under film during the curing process; they can reduce clarity by up to 30%. Peeling starts when improper surface prep or low-quality dye films fail adhesive tests, causing corners to lift.
Discoloration and purpling occur due to dye degradation from UV exposure, sometimes visible within 6–12 months on conventional films. Residue remains when tint separates from glass, leaving sticky adhesive that attracts dirt and road debris, impacting visibility and potentially scratching the glass when cleaned improperly.
Below is a table summarizing these issues, their root causes, and quick diagnostic checks commonly used by IR auto solutions technicians.
Common Tint Issues, Causes, and Diagnostics
| Issue | Root Cause | Diagnostic Check | Source Context |
| Bubbling | Moisture/dust under film | Edge lift test | IR Auto Solutions quality install |
| Peeling | Poor adhesion or low-quality dye | Curing time measurement | Best tint for car recommendations |
| Discoloration | UV dye breakdown | Visual shade comparison | Ceramic vs. dye film analysis |
| Residue | Film delamination | Glass scrape test | Maintenance guide by IR Auto Solutions |
These diagnostic checks link directly to IR Auto Solutions’ maintenance procedures and detailed customer education resources.
Bubbling or peeling can signal deeper adhesion problems. The next section explains how installation errors compound these issues, affecting both visibility and protection.
How do car tinting errors impact visibility and protection?
Car tinting errors impact visibility and protection by creating uneven light transmission and compromised UV blocking capabilities. Misalignment along the window edge can increase blind spots by 15%, while wrinkles scatter incoming light, causing glare that strains the eyes. Improper cutting or trimming introduces gaps where UV rays penetrate, reducing SPF equivalent protection from 99% down to as low as 60%.
Failing to clean glass thoroughly before film application leaves oils that weaken adhesion, leading to premature film separation and bubble formation. Without proper water removal using a squeegee, residual moisture fosters mold growth and film lift, undermining the tint’s longevity. These errors not only violate local tint regulations but also diminish energy savings expected from lower air conditioning loads.
Installation mistakes directly affect both functional performance and legal compliance, necessitating accurate film selection and cutting methods covered by professional installers.
DIY repairs require strategy. The following section covers how everyday car owners can tackle tint issues successfully at home using accessible tools and methods.
To understand why professional installation pays off over time, read our article on The Long-Term Value of Professional Auto Window Tinting.
How can DIY auto window tint issues be tackled successfully?
DIY auto window tint issues can be tackled successfully by following a structured cleaning and smoothing process with proper tools. First, gently peel back the film edge using a pickup tool and apply a 50:50 solution of water and soap to soften the adhesive. Next, use a hard plastic squeegee to push out trapped water and smooth bubbles, working from the center outward in overlapping strokes.
When adhesive residue remains, a microfiber cloth dampened with isopropyl alcohol dissolves sticky compounds without scratching the glass. Cutting errors along door jambs can be remedied by re-trimming with a sharp utility knife under angled light to ensure straight lines and full coverage. Finally, let the film cure in shaded, dry conditions for 48–72 hours to prevent new bubbles or shrinkage.
Key DIY steps include:
- Edge lift and water flush: release trapped moisture.
- Squeegee smoothing: push bubbles to the edge.
- Alcohol wipe: remove residual adhesive.
- Precision cutting: correct alignment and size.
- Dry curing: ensure complete film adhesion.
These methods leverage common tools—squeegee, utility knife, spray bottle—widely available in auto detailing toolkits.
After mastering DIY fixes, many owners consider professional assistance. The next section reveals expert tips that guarantee flawless auto window tint applications. To see what the process looks like from start to finish, check out What to Expect During Your Auto Window Tinting Appointment for a step-by-step overview of the professional experience.
What professional tips ensure flawless auto window tint application?
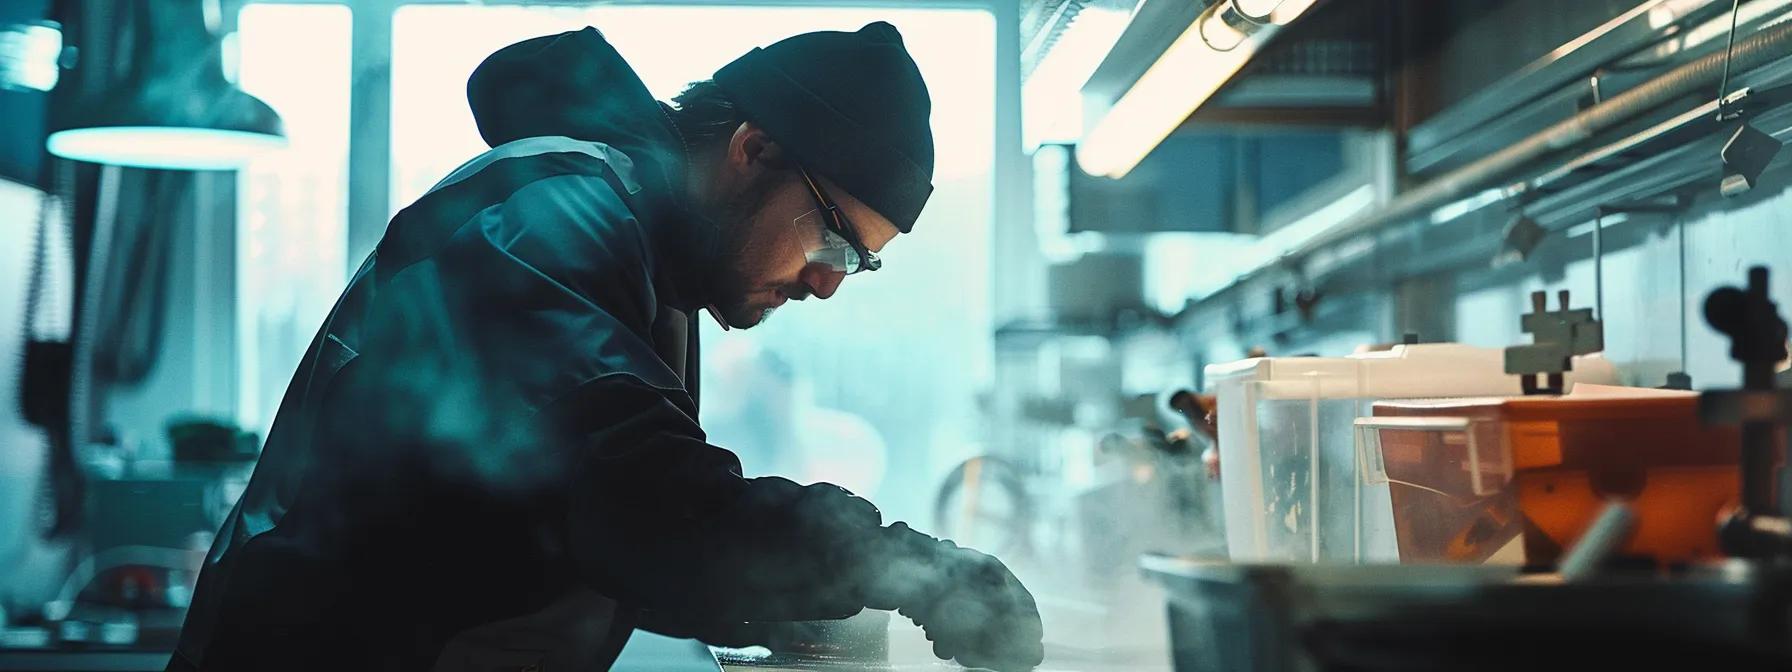
Professional tips ensure flawless auto window tint application by combining controlled environments, premium films, and advanced tools. IR Auto Solutions recommends using a dust-free tent or workshop area to minimize particle contamination; even a single speck of dust can create permanent bumps in the film, visible as irregularities on glass.
Applying high-end ceramic window film enhances infrared rejection up to 50%, outperforming dye films in longevity and UV stability. Installers use a heat gun at 120–130 °F to shrink the film precisely into curved glass contours, preventing future wrinkles and ensuring uniform adhesion. Edge sealing with automotive-grade sealant prevents moisture ingress along channel edges, extending effective service life to over 10 years under typical driving conditions.
Below is a comparison table of professional installation best practices versus common DIY approaches, including source context from IR Auto Solutions and Llumar tint guidelines.
Professional vs. DIY Tint Application
| Aspect | Professional Approach | DIY Approach | Source Context |
| Environment | Dust-controlled workshop | Garage floor or driveway | IR Auto Solutions facility standards |
| Film Type | Ceramic infrared-rejecting | Dye or carbon film | Llumar and Huper Optik specs |
| Tools | Heat gun, vacuum tent | Home hair dryer | Industry training manuals |
| Sealant | Automotive-grade edge seal | No edge sealing | Manufacturer warranty requirements |
Implementing these professional standards underpins IR Auto Solutions’ reputation for the highest quality window film installations in Asheville, NC.
Understanding these essentials helps vehicle owners make informed choices. The next section outlines key factors every car owner should know before tinting windows.
What essentials should vehicle owners know about auto window tinting?

Vehicle owners should know about legal compliance, film types, cost, and warranty when considering tinting. Different jurisdictions limit visible light transmission (VLT) percentages—commonly 35% VLT for sedans and 50% VLT for SUVs—requiring precise measurement tools to avoid fines. IR Auto Solutions provides free estimates and ensures compliance with NC Regulations 15A NCAC 02D .2103.
Film options include dyed films (costing $150–$250 for a sedan), carbon films ($200–$350), and ceramic films ($300–$500), each varying in heat rejection (20%, 40%, and 50% respectively). Warranties range from 5 years on dye films up to lifetime coverage on ceramic films, reflecting durability and resistance to fading or shrinking. Professional mobile car tinting services at IR Auto Solutions include post-installation inspections and complimentary maintenance washes to preserve adhesion and clarity.
Below is a list of essentials to consider before tinting:
- Local tint regulations and VLT limits
- Comparison of film types: dye, carbon, ceramic
- Installation cost vs. expected energy savings
- Warranty durations and service inclusions
- Post-installation maintenance and cleaning agents
Armed with these essentials, owners can balance costs, benefits, and compliance for an optimal tint investment.
Finally, preventing future issues and embracing new innovations ensures your tint remains flawless long term.
How can future window tint issues be prevented and innovations embraced?
Preventing future window tint issues involves regular cleaning with pH-neutral agents, avoiding abrasive tools, and parking in shaded areas to limit UV stress. IR Auto Solutions recommends a micro-suede applicator and ammonia-free window cleaner to maintain adhesion and clarity without damaging the film’s topcoat. Monthly inspections for edge lift or moisture pockets allow early intervention before bubbles or peeling worsen.
Emerging innovations such as electrochromic (smart) tint offer electronically adjustable VLT, shifting from 5% to 70% transmittance in under 10 seconds. Nanoceramic films incorporating graphene layers repel infrared radiation above 1200 nm, further cutting cabin heat by 5–10% compared to standard ceramic. These advancements, available through IR Auto Solutions, push longevity past 15 years and open new possibilities for dynamic climate control and privacy on demand.
To keep tint performing at peak levels:
- Use ammonia-free cleaner and microfiber cloths.
- Inspect edges monthly for sealant wear.
- Park under UV-protective covers when possible.
- Upgrade to smart or nanoceramic films for high-end performance.
By combining proper maintenance with cutting-edge film technologies, drivers safeguard their investment and stay ahead of industry innovations. Curious about pricing for premium tint options? Read our guide on How Much Does Auto Window Tinting Cost in Asheville, NC? for a full breakdown.
FAQs
How long does window tint adhesive take to fully cure?
Window tint adhesive typically cures in 48–72 hours under dry, shaded conditions.
Can extreme heat cause window tint to bubble?
Extreme heat can accelerate moisture expansion under the film, causing bubbles if not fully cured.
Is it legal to tint front windshield in North Carolina?
In North Carolina, front windshields may only have non-reflective tint above the manufacturer’s AS-1 line.
How do I remove old adhesive residue without damaging glass?
An isopropyl alcohol solution with a microfiber cloth safely dissolves residue without scratching.
What maintenance extends the life of ceramic window tint?
Use ammonia-free cleaners, avoid abrasive tools, and inspect seal edges monthly for best longevity.
Addressing common window tint issues such as bubbling, peeling, and discoloration preserves clarity, UV protection, and energy savings. DIY repairs—cleaning, edge lifting, and squeegee techniques—can correct minor problems quickly, while professional installations by IR Auto Solutions guarantee uniform adhesion and compliance with local regulations. Essential knowledge of film types, VLT limits, and warranty details empowers vehicle owners to make cost-effective decisions. Embracing innovations like smart and nanoceramic films ensures long-term performance and maximizes the benefits of automotive window tinting.