Scheduling an auto window tinting appointment can feel like a leap into the unknown. IR Auto Solutions guides everyday car owners through every step—from initial prep to the final inspection—so clients in Asheville, NC know exactly what to expect. This comprehensive walkthrough explains how to prepare your vehicle, what happens on arrival, the installation stages, typical timeframes, and key post-tint maintenance tips.
Preparing for Your Auto Window Tinting Appointment
Preparing your car before arriving for window tint asheville NC ensures a smooth installation. IR Auto Solutions recommends washing your vehicle’s glass and paint protection film areas 24 hours before your scheduled service to remove dirt, debris, and residue from the factory tint or previous film. Proper cleaning helps the adhesive bond evenly, reducing haze or bubbles later.
Clients should also remove any parking permits, stickers, or dashboard trinkets and vacuum the interior around the windows. This prevents dust and lint from getting trapped under the new film and maintains the aesthetics of your coupe or SUV. IR Auto Solutions provides microfiber towels and window cleaner for last-minute touch-ups to guarantee a spotless substrate before tinting begins.
Finally, confirm your appointment details 48 hours in advance to review mobile car window tinting options, service upgrade addons like ceramic coating, or paint protection film bundles. Clarifying car window tinting prices and package options—such as Llumar tint or Lexen window tint—helps avoid surprises on the day of service and ensures you select the best tint for car windows that meets UV rejection and IR heat-rejection goals.
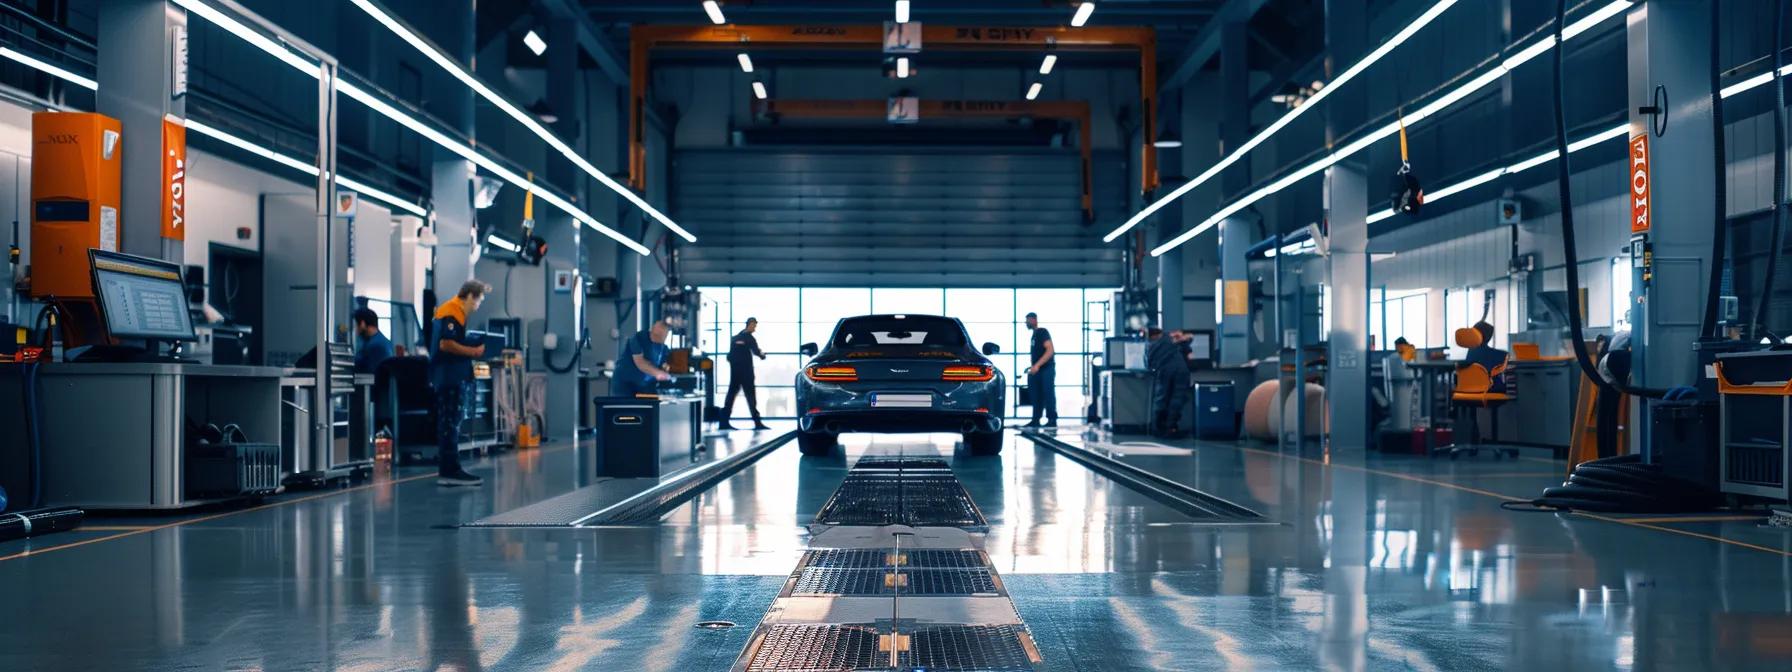
Arriving at the Tinting Service Facility
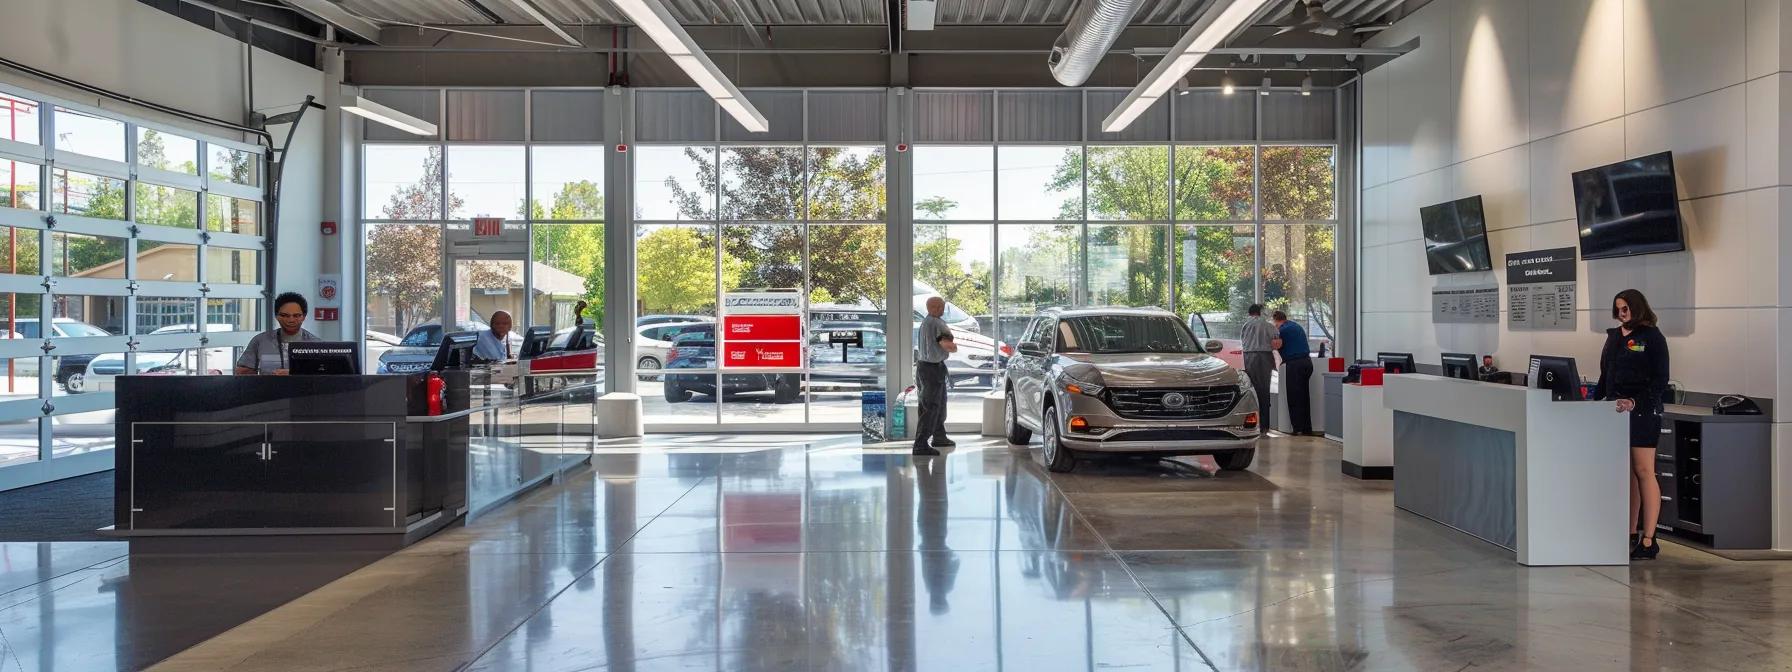
Arriving at IR Auto Solutions’ Asheville tinting center begins with a client check-in where staff verify your service level and window film choice, whether carbon, ceramic, or dye-based film. Front desk aides confirm the agreed car window tinting price, package type (e.g., premium ceramic IR-reject film), and optional add-ons like headlamp tint or trunk wrap.
Vehicles are then parked in a climate-controlled bay to maintain consistent humidity and temperature—crucial for adhesive curing and preventing moisture ingress under the film. Technicians inspect the glass for factory tint remnants, pitted glass edges, or chips that might impair installation. If any issues are found, they advise on glass repair or defrost grid protection before proceeding.
While the car is staged, IR Auto Solutions specialists review safety and warranty details, including any dealer-installed sunroof or rear windshield defroster considerations. Clients receive an overview of the projected timeline and a courtesy coffee while technicians finalize measurements. This welcome process ensures transparency on car window film law compliance, film darkness, and expected UV-block percentages.
To help you decide on the right film for your needs, check out our guide on Choosing the Best Type of Tint for Your Car: Ceramic vs. Dyed vs. Carbon.
Starting the Tint Installation Process
Starting the tint installation process involves a sequence of steps to guarantee precision. Technicians first mask off trim edges, weatherstripping, and door panels with high-quality masking tape to protect paint and upholstery. They then use a heat gun on low setting to loosen any old adhesive or moisture trapped under the factory tint and to align the new film.
Next, each window is measured and templated using digital calipers to account for curvature and glass thickness. IR Auto Solutions employs custom-cut software to generate templates that match the exact inch-by-inch dimensions of each door glass, windshield, and rear quarter window. This reduces film waste and ensures uniform edge coverage to prevent lifting or premature peeling.
Once templates are loaded into a precision plotter, technicians load the chosen film roll—carbon, hybrid, or advanced ceramic—and run test cuts. This stage confirms film opacity, IR rejection rating, and color consistency before moving on to the actual application. Clients can inspect trimmed film pieces for accurate darkness percentage and adhesive liner quality prior to installation.
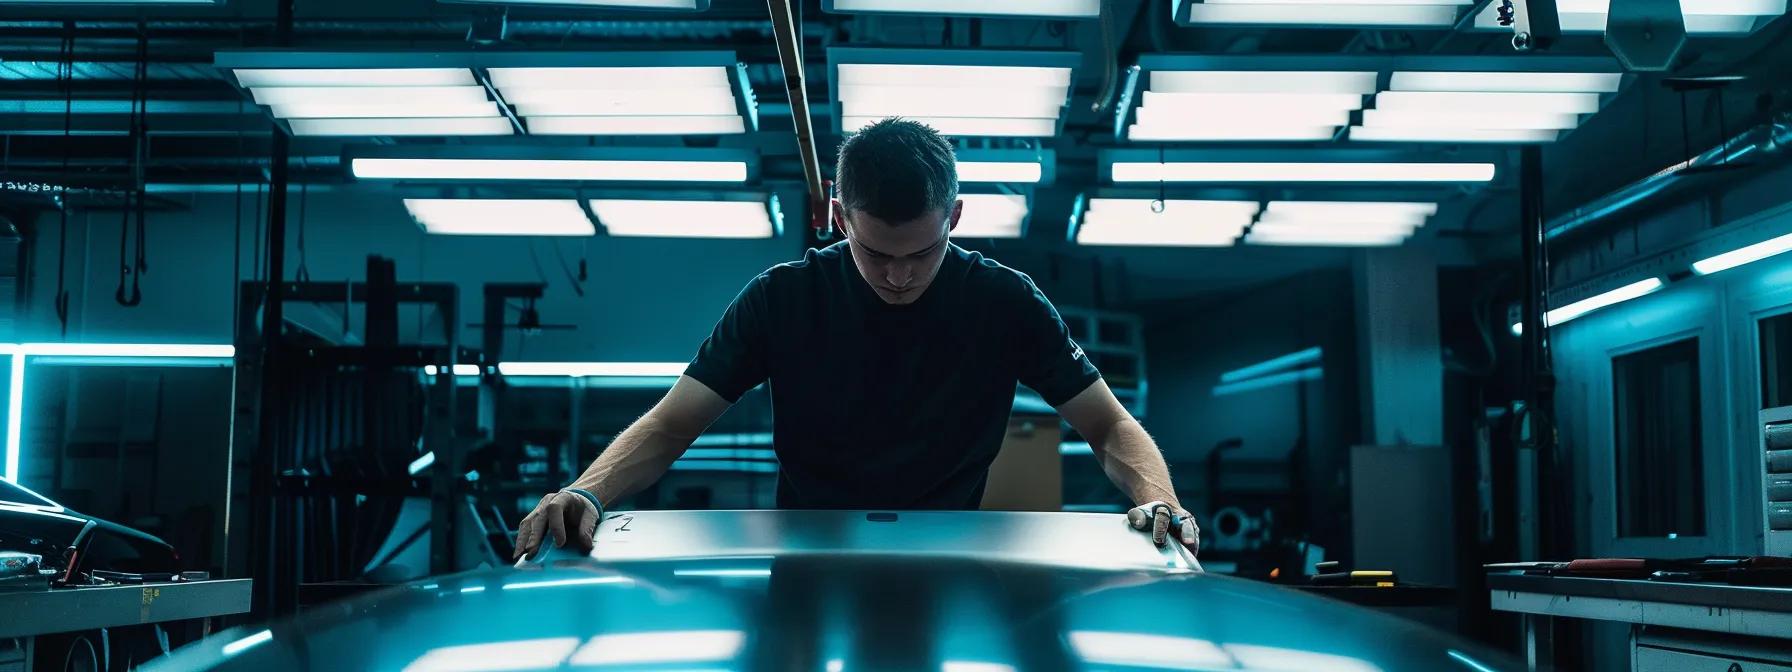
Executing the Car Window Tinting Steps
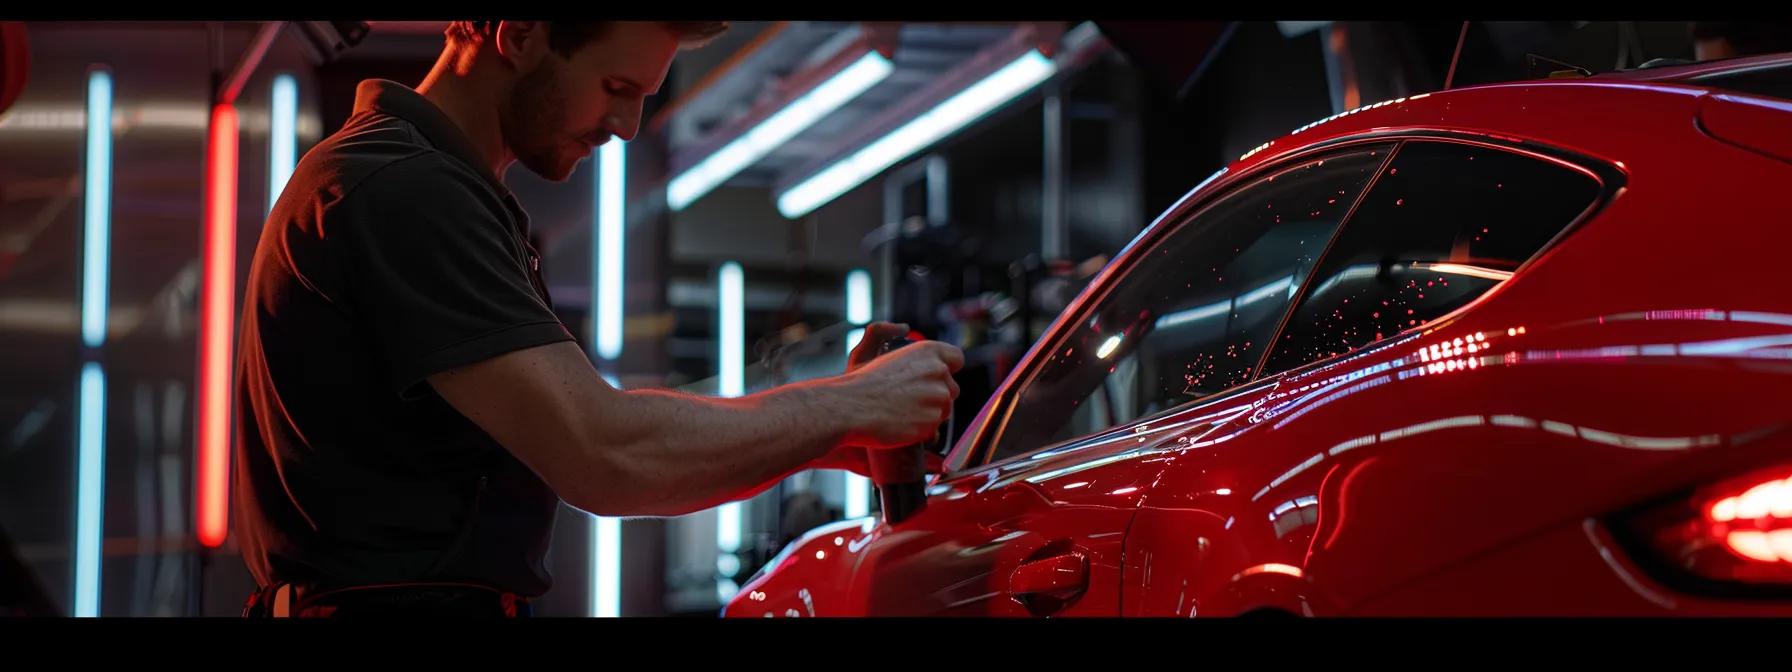
Executing the car window tinting steps begins with a final glass wipe down using sterile microfiber cloths and a dust-removal squeegee. This ensures a sterile surface free of lint or particles that could cause bumps or imperfections under the film. IR Auto Solutions technicians then apply a slip solution—water mixed with a mild soap—to the glass, enabling precise film positioning.
Once the film is positioned, technicians use a hard-rubber squeegee in systematic horizontal strokes to expel slip solution and air pockets. This pressing step locks the adhesive onto the glass. Excess water is extracted around film edges using a fine-tip squeegee to ensure a tight seal. After the sides and top are set, the bottom edges receive extra attention to prevent water infiltration.
Finally, a heat gun tuned to 120°F (49°C) is used around window edges and door jambs to accelerate adhesive bonding and film conforming. This gentle heating also prevents premature haze and allows the film to cure under controlled conditions that uphold IR Auto Solutions’ warranty standards. Each window is then inspected under shop lights to catch any stray bubbles or dust particles before cleaning.
Key application steps at IR Auto Solutions:
- Step 1: Glass preparation with slip solution and microfiber wipe.
- Step 2: Precise film alignment using custom templates.
- Step 3: Squeegee bonding and water extraction.
- Step 4: Edge sealing and heat-activation for long-term adhesion.
Understanding the Car Tinting Service Timeline
Understanding the car window tinting timeline clarifies how long you’ll wait and when you can drive away. At IR Auto Solutions, a full side-window tint job typically takes 2–3 hours, while a windshield and rear windshield add another hour. Technicians allow a 30-minute initial cure period before removing the vehicle from the bay.
During the cure period, slip solution continues to dry beneath the film. Proper airflow and temperature control—65–75°F with low humidity—prevent micro-bubbles and haze. After 30 minutes, the vehicle moves to a covered recovery garage where tinted windows remain untouched for 24–48 hours to complete adhesive bonding.
Customers receive a laminated film care card outlining key do’s and don’ts. Driving immediately is permitted but keeping windows rolled up helps the film settle. IR Auto Solutions also offers pickup and delivery or mobile car window tinting services for clients whose schedules demand minimal downtime.
Timeline summary:
| Stage | Duration | IR Auto Solutions Standard |
| Check-In & Inspection | 15 minutes | Detailed vehicle intake |
| Glass Prep & Cutting | 30–45 minutes | Digital templating |
| Film Application | 1–2 hours | Edge-to-edge coverage |
| Initial Cure | 30 minutes | Climate-controlled bay |
| Full Adhesive Cure | 24–48 hours | Warranty-backed bond |
Final Reviews and Post-Tinting Maintenance
Final reviews include a joint inspection of each tinted panel under direct light to catch stray bubbles or edge imperfections. IR Auto Solutions specialists walk you through visual checks, confirming UV rejection levels, optical clarity, and uniform color. Clients learn how to avoid window cleaner with abrasive chemicals that can damage the adhesive.
Post-tint maintenance emphasizes a gentle wash schedule: use mild soap, soft microfiber, and squeegee or plastic scraper for dried water spots. Avoid rolling down windows for 48 hours and steer clear of high-pressure car washes for one week. These measures prevent film lifting and ensure maximum longevity of the adhesive bond under varying road and climate conditions.
Finally, every Tint asheville NC installation comes with a five-year warranty covering peeling, cracking, or discoloration. IR Auto Solutions also offers free annual inspections and tint car care kits upon request, reinforcing their commitment to customer satisfaction and protecting your investment in solar energy rejection and interior UV shielding.
FAQs
How soon can I roll down my windows after tinting?
Windows should remain rolled up for at least 48 hours to allow adhesive curing.
Can I wash my car right after the appointment?
Avoid high-pressure washes for one week; gentle hand wash is allowed immediately.
What warranty covers peeling or discoloration?
IR Auto Solutions provides a five-year warranty against peeling, cracking, and fading.
Do I need to remove existing factory tint?
Technicians inspect and, if needed, remove any factory film remnants before new tinting.
How do I clean tinted windows safely?
Use mild soap, water, and a microfiber cloth; avoid ammonia-based cleaners and razor blades.
An auto window tinting appointment follows a clear, step-by-step process—from vehicle prep and check-in to precise template cutting and film application. Maintaining humidity control and proper cure times ensures optimal adhesion, UV rejection, and optical clarity. IR Auto Solutions supports clients with post-tint care instructions, annual checkups, and warranties that protect your investment. Trusting their Asheville, NC experts means long-lasting performance and a flawless finish every time.